Testing your car’s alternator is a valuable skill for any DIY enthusiast and car owner. If your car is difficult to start, lights are dimming, or the battery is draining continuously, the alternator may be at fault. Knowing how to test an alternator with a multimeter will save you money, time, and the frustration of a break-down. With this 3000-word step-by-step guide, we’re going to break down everything you need to know about testing an alternator using a multimeter, using plain language and simple steps. Whether you are a novice or a seasoned gearhead, you will be diagnosing alternator issues like a pro after reading this article.
What is an Alternator and Why Test It?
Now, before we discuss how to test an alternator using a multimeter, let’s discuss what an alternator does. Your car’s alternator is the heart of its electrical system. The alternator produces electricity to recharge the battery and power electrical accessories such as headlights, the radio, and the air conditioner. If the alternator is bad, your car will run for a while on the battery, but it will finally stall.
Testing the alternator is necessary because a bad one can lead to all kinds of issues from dead batteries to outright car failure. Being able to test an alternator with a multimeter means you can diagnose the issue without having to spend money on diagnostic equipment. To test whether your alternator is functioning or not, you only need a multimeter, a basic tool that can measure voltage, current, and resistance.
Symptoms Your Alternator Should Be Checked
How do you know when to check your alternator? Here are some common symptoms that shout, “Get your multimeter!”
Flickering or dim lights: If your dashboard lights or headlights are dimming or flickering, your alternator may not be generating sufficient power.
Dead battery: A dead battery that keeps on dying may indicate an alternator that is not charging it properly.
Uncommon sounds: Grinding or whining engine noises may suggest alternator bearing problems.
Warning lights: An “ALT” or battery warning light on your dashboard is something to worry about.
Electric issues: If your radio, power windows, or other electrical devices cease to function, the alternator is probably finished.
If you observe these symptoms, it’s time to find out how to test an alternator with a multimeter to verify the issue.
Equipment You’ll Need to Test an Alternator with a Multimeter
Before we get into the details of how to test an alternator with a multimeter, let’s gather the tools. You don’t need some fancy-schmancy toolbox—just some essentials:
Multimeter: The most convenient and accurate is a digital multimeter. You can buy one for less than $20 at most hardware stores.
Safety gear: Safety glasses and gloves protect you from battery acid or electrical sparks.
Screwdriver or wrench: To reach the battery terminals or alternator connections.
Owner’s manual: Your car manual will direct you to the battery and alternator.
Equipped with these tools, you’re ready to master how to test an alternator with a multimeter.
How to Test an Alternator with a Multimeter: Step-by-Step Instructions
Now, on to the feature attraction: testing an alternator with a multimeter. Read these instructions closely to determine if your alternator is in good health. We’re going to divide it into three significant tests: the battery voltage test, the alternator output test, and the diode test.
Step 1: Safety First
Safety first, before you even start testing. Working with car batteries and electrical components is dangerous if you don’t watch yourself. Here’s how to stay safe learning how to test an alternator with a multimeter:
Shut down the engine: Make sure your car is off and keys taken out of the ignition.
Park on a level surface: Ensure your vehicle won’t roll over and is firm.
Wear protective gear: Safety glasses and gloves are a must.
Steer clear of loose clothing or accessories: They may get caught by engine parts or cause short circuits.
Safety is not a choice when deciding how to test an alternator with a multimeter.
Step 2: Set Your Multimeter
To test your alternator, you will need to set up your multimeter correctly. Here’s how:
Switch to DC voltage mode: Most multimeters have a “V” with a horizontal line (for DC voltage). Set it to 20V or a similar range.
Check probes: Insert the red probe into the “V” or positive port and the black probe into the “COM” or negative port.
Test the multimeter: Put the probes side by side to check if it’s functioning. You should have a random or zero reading.
Now that you have your multimeter, you’re half way to being an alternator diagnostic expert with a multimeter.
Step 3: Perform the Battery Voltage Test
The first check measures the battery’s voltage, which provides you with a reference point before actually testing the alternator. Here’s how to do it:
Find the battery: It should be in the hood, but refer to your owner’s manual if you’re not sure.
Insert the probes into the battery terminals: Insert the red probe into the (+) positive terminal and the black probe into the (-) negative terminal.
Check the voltage: The battery should read around 12.6 volts if the engine is not operating.
If your battery’s voltage is below 12.4 volts, charge your battery and then proceed. You won’t get accurate results if you attempt to test an alternator on a dead battery. It’s a key phase of discovering the procedure to test an alternator with a multimeter.
Step 4: Test the Alternator Output
Now, let us check the ability of the alternator to charge. This is the essence of how to test an alternator using a multimeter. Follow these steps:
Start the engine: Allow it to idle. Second reading of the voltage of the battery: With the engine on, put the multimeter leads on the terminals of the battery (red on positive, black on negative).
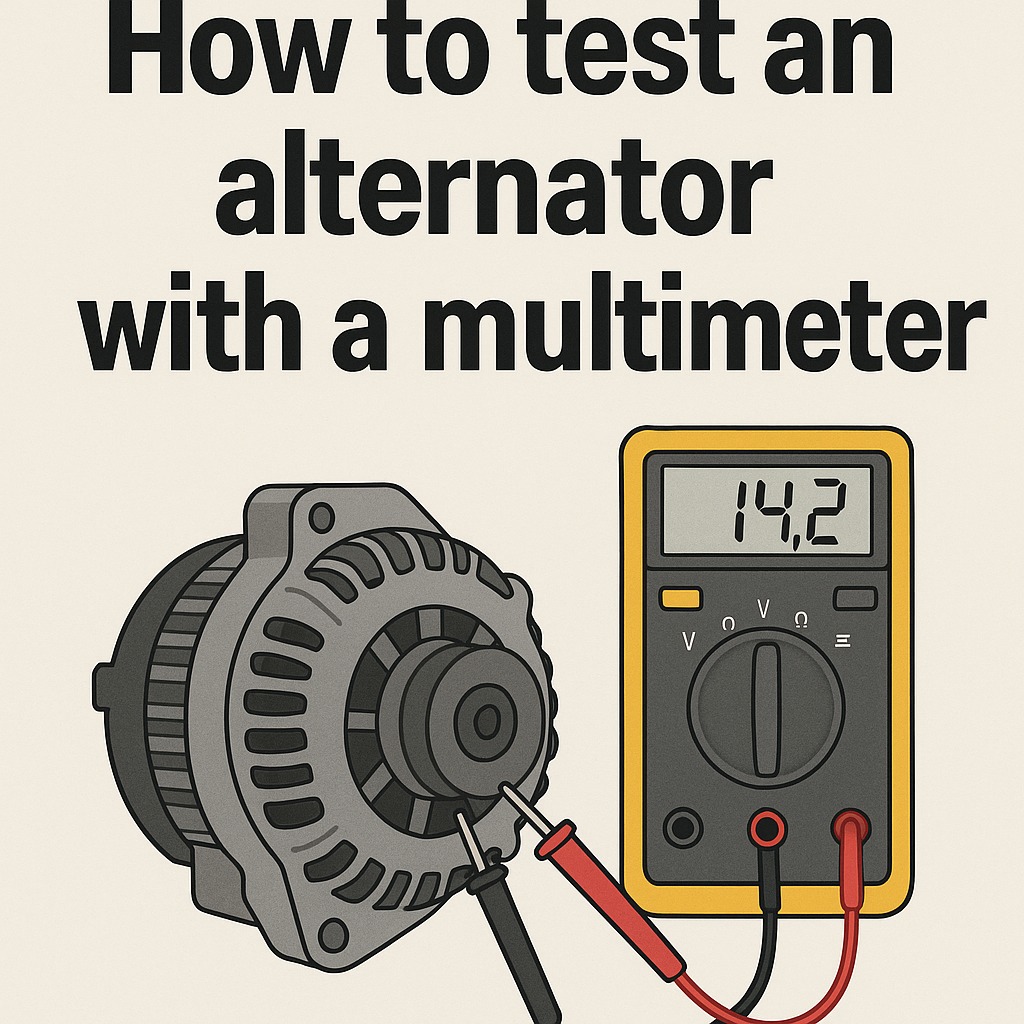
Check the reading: The reading of a healthy alternator should be 13.8 to 14.4 volts. If it’s less than 13.8 volts, the alternator may not be charging the battery. If it’s greater than 14.4 volts, it could be overcharging and damage the battery.
For a better test, have electrical loads such as headlights, the radio, and the AC on. The voltage must remain in the 13.8–14.4-volt range. If it falls well below that, your alternator may be working hard. This test is a staple of how to test an alternator with a multimeter.
Step 5: Test the Alternator Diodes
The alternator’s diodes change AC (alternating current) into DC (direct current) for your car’s electrical system. Troubled diodes result in electrical problems, so they’re included in how to test an alternator with a multimeter. This is how:
Switch the multimeter to AC voltage mode: Find the “V” with a wavy line.
Measure at the battery: With the engine running, place the probes on the battery terminals.
Read the voltage: You should get 0 volts or a reading that is very low (less than 0.5 volts). A reading higher than this indicates failed diodes.
Failed diodes can drain the battery or cause flickering lights, so don’t omit this step when learning how to test an alternator with a multimeter.
Step 6: Check Connections and Repeat Tests
If your testing indicates abnormal results, inspect the connections of the alternator prior to concluding that the alternator is bad. Corroded or loose wires can cause similar failure of the alternator. Wire brush out corrosion and tighten loose connections. Test the alternator again to verify your results. This is a critical step in how to test an alternator with a multimeter correctly.
What Do the Test Results Mean?
After testing, you’ll have a clearer picture of your alternator’s health. Here’s how to interpret the results of how to test an alternator with a multimeter:
Battery voltage (engine off): Below 12.4 volts means the battery is weak and needs charging or replacement.
Alternator output (engine running): Below 13.8 volts suggests the alternator isn’t charging enough. Above 14.4 volts indicates overcharging.
Diode test: Any noteworthy AC voltage (over 0.5 volts) indicates bad diodes.
If your alternator passes the above tests but fails any of these, it’s time to look at repair or replacement. Knowing how to check an alternator with a multimeter gives you a good basis for decision-making.
Troubleshooting Common Alternator Issues
At times, the issue is not the alternator but auxiliary parts. Listed below are problems to inspect upon knowing how to test an alternator using a multimeter:
Loose or frayed belts: The serpentine belt drives the alternator. Should it be loose or worn, the alternator will not wind as expected.
A faulty voltage regulator: Internal regulators on certain alternators dictate output. The alternator could lead to over- or undercharging due to a bad one.
Wiring issues: Frayed or disconnected wires can disrupt the alternator’s performance.
Battery problems: A bad battery can make the alternator appear faulty.
By ruling out these issues, you’ll ensure your diagnosis from how to test an alternator with a multimeter is accurate.
When to Replace Your Alternator
If your tests indicate that the alternator is bad, you will have to determine whether to replace or repair it. Small problems such as bad bearings or diodes may be repaired, but a totally failed alternator typically has to be replaced. A new alternator is $100–$500, depending on your vehicle’s make and model. Learning how to test an alternator with a multimeter can prevent unnecessary replacements by verifying the problem.
If you’re not comfortable replacing the alternator yourself, take your car to a mechanic. Share your multimeter test results to help them diagnose the problem faster.
Tips for Maintaining Your Alternator
Once you’ve mastered how to test an alternator with a multimeter, keep your alternator in top shape with these maintenance tips:
Check belts regularly: Ensure the serpentine belt is tight and free of cracks.
Clean connections: Bypass rust off battery and alternator terminals.
Monitor electrical loads: Refrain from loading up the system with aftermarket upgrades.
Test periodically: Check with your multimeter every few months to detect faults before they arise.
Regular upkeep eliminates the frequency of frequent checks and prolongs your alternator’s lifespan.
Why Testing Your Alternator Saves Money
Learning to check an alternator with a multimeter isn’t just about solving issues—it’s about saving money. Professional testing costs $50–$150, and unnecessary work can cost hundreds. By doing it yourself, you don’t have to pay these costs and learn to trust your car’s upkeep. And a multimeter is a onetime expense you can use for hundreds of other projects.
Common Mistakes to Avoid When Testing an Alternator
Even with a clear guide on how to test an alternator with a multimeter, mistakes can happen. Here are some pitfalls to avoid:
Testing with a weak battery: Always charge the battery first for accurate results.
Incorrect multimeter settings: Double-check that you’re in DC or AC mode as needed.
Ignoring safety: Skipping gloves or working with the engine on can lead to injury.
Not checking connections: Loose wires can cause false readings.
By avoiding these errors, you’ll get reliable results when testing your alternator.
Conclusion: Master How to Test an Alternator with a Multimeter
Testing your alternator doesn’t have to be scary. Using a multimeter and this guide, you’ll be able to diagnose problems like a pro and keep your vehicle running in tip-top shape. By following the instructions in how to test an alternator with a multimeter, you’ll save time, money, and stress. From a dead battery to dim lights to unusual sounds, these tests will assist you in identifying the problem and making the next decision.
So, grab your multimeter, pop the hood, and get started. With a little practice, you’ll be a master at how to test an alternator with a multimeter in no time!